Creating a smooth, lifted appearance for aging skin was once a feat that could be accomplished only with a scalpel. But for patients who weren’t ready for surgery or were looking just to make small tweaks in targeted areas of the face or décolletage, Ultherapy was a game changer when it arrived in doctors’ offices back in 2015. Since then, the treatment has become a household name among those familiar with the aesthetics industry.
“Ultherapy is an FDA-cleared, completely noninvasive treatment for lifting [and smoothing] the skin on areas of the face, neck, and [décolletage],” says Dr. Kim Nichols, a board-certified dermatologist in Greenwich, Connecticut. “This treatment works by delivering micro-focused ultrasound under the skin, to jump-start collagen production for a lifting, tightening effect.” Unlike other noninvasive skin tightening options, Ultherapy gives providers a unique degree of customization, notes Dr. Ron Shelton, a board-certified dermatologist in New York City, thanks to an ultrasound monitor that allows them to see the depth of each area they’re treating—allowing them to adjust the ultrasound energy in real time, to target optimal depth. “It gives me better results because I’m focusing exactly where I need to,” he says.
For patients with mild to moderate skin laxity—usually those in their 30s, 40s, and 50s—Ultherapy can be used to help tighten skin on the brows, beneath the chin and neck for an overall more lifted, firmer appearance. It can also be used to smooth wrinkles on the décolletage. “To me, almost every patient is an Ultherapy candidate,” says Dr. Jennifer Levine, a board-certified facial plastic surgeon in New York City. “Because collagen is decreasing about 1% every year, it’s beneficial to have a treatment that produces collagen and elastin, doesn’t have any downtime, and [can treat] all skin types.”
While all three doctors agree that it’s not a substitute for facial plastic surgery, they do note it is a compelling option for those who are looking for a noticeable improvement in facial firmness but aren’t yet ready to explore surgical procedures. And because the cost is usually between $1,000 and $4,000, depending on where you live, it can be a more approachable price point for most patients.
Ultherapy results start to show after two to three months, but the most significant firming, lifting, and smoothing will be seen around the six-month mark—although Dr. Shelton notes that some patients can continue to see improvements up to a year afterward. Results typically last one to two years—as Dr. Levine noted, your skin will continue to lose collagen at a rate of about 1% a year. Ultherapy doesn’t prevent that loss completely, but rather functions as a stimulation by allowing your skin to produce a significantly greater amount of collagen.
This gradual improvement is also a key reason that before and after photos are crucial for Ultherapy patients, to truly see the marked improvement the treatment can have on their appearance. “Because this is a treatment that is happening slowly over time, it’s like watching paint dry—it’s happening, but you can’t really see it,” says Dr. Levine. “So often the patient doesn’t realize there has been a significant improvement until they see the [before and after] pictures [side by side]. With any treatment that works slowly over time, it’s really important for patients to check in on a regular basis and have photos taken so they can get excited about their progress.”
One thing all of our doctors stressed is important to keep in mind prior to your Ultherapy treatment is that results will vary, depending on the characteristics of the patient—everything from age to lifestyle to time spent in the sun has an impact on your skin’s starting quality, meaning your final results might not be exactly the same as for someone else undergoing the same treatment.
We asked Drs. Levine, Nichols, and Shelton to tell us what makes for great Ultherapy before and after photos in each of the FDA-cleared treatment areas, to help decide whether it’s the right treatment for you or to gauge the success of your treatment.
Neck
Ultherapy is FDA-cleared for lifting the neck, and Dr. Levine says patients may expect at least a one-point improvement on a five-point assessment scale. And this will be most apparent for the neck in profile photos. In fact, one of the most important factors in photos for any facial treatment, especially one that targets the neck, is the angle and position of the face. Taking a straightforward photo won’t give an accurate representation of what Ultherapy does for firming and defining that area, says Dr. Levine, so doctors should be taking patients’ photos at 45- and 90-degree angles as well as a frontal view. It’s also crucial that the face is photographed at the same position (i.e., the chin is not pointed too far up or too far down between one photo and the next), as that can significantly impact the look of the face in a picture, says Dr. Shelton. “If a patient turns their neck or chin a little bit higher or a little bit lower, that can tighten the skin and make a difference,” he says.


Chin
According to Dr. Levine, Ultherapy can help treat the area below the chin, to make it appear more contoured, as well as make the lower face more defined. And while you might be tempted to smile for your photos, Dr. Shelton says that’s actually discouraged in your before-and-afters because it can affect the way your results appear in your photos. “A smile can certainly affect the lower cheek,” he says, pulling the area up or back. Instead, he recommends keeping a neutral expression. Your face should be at rest—not actively showing an expression.

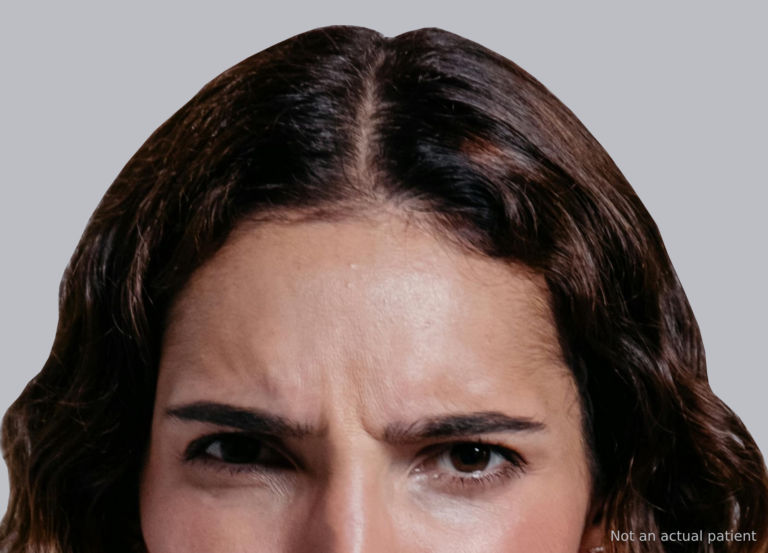
Brow
When many people think of Ultherapy, they usually point to its ability to sculpt and define the neck and chin area. But it also has the ability to give a higher arch to the brows, says Dr. Nichols. According to Dr. Levine, Ultherapy actually raises the brow, which can enhance the look of the eyes—that minimum one-point improvement she was referencing earlier. [It’s important to note that treatment should never be done too close to the eye area.] In brow cases, it’s important to be sure to do a frontal, full-face photo so patients can clearly see the area and how it impacts the entire face. It’s also key that they not be wearing any makeup, particularly brow or eye makeup, as that can impact the shape.

Décolletage
Ultherapy is commonly used on this area to address crepiness and wrinkles caused by sun damage and collagen loss due to repeated folding of the skin—and any time you are photographing wrinkles, Dr. Levine says, the number one thing you need to be aware of is lighting. “If I put a very bright light on you, I can wash out the skin and you’re not going to see any shadows or lines,” she says. “Whereas if I have downlighting, I can accentuate the lines and wrinkles.” So you need to be sure the lighting is both consistent in all photos and not overly bright or too dark on the skin. This is where it’s helpful if a doctor’s office has a specific photo studio or shoot setup, to ensure that all photos are taken in the same conditions and uniformity.

For safety information, visit www.ultherapy.com/IFU.