


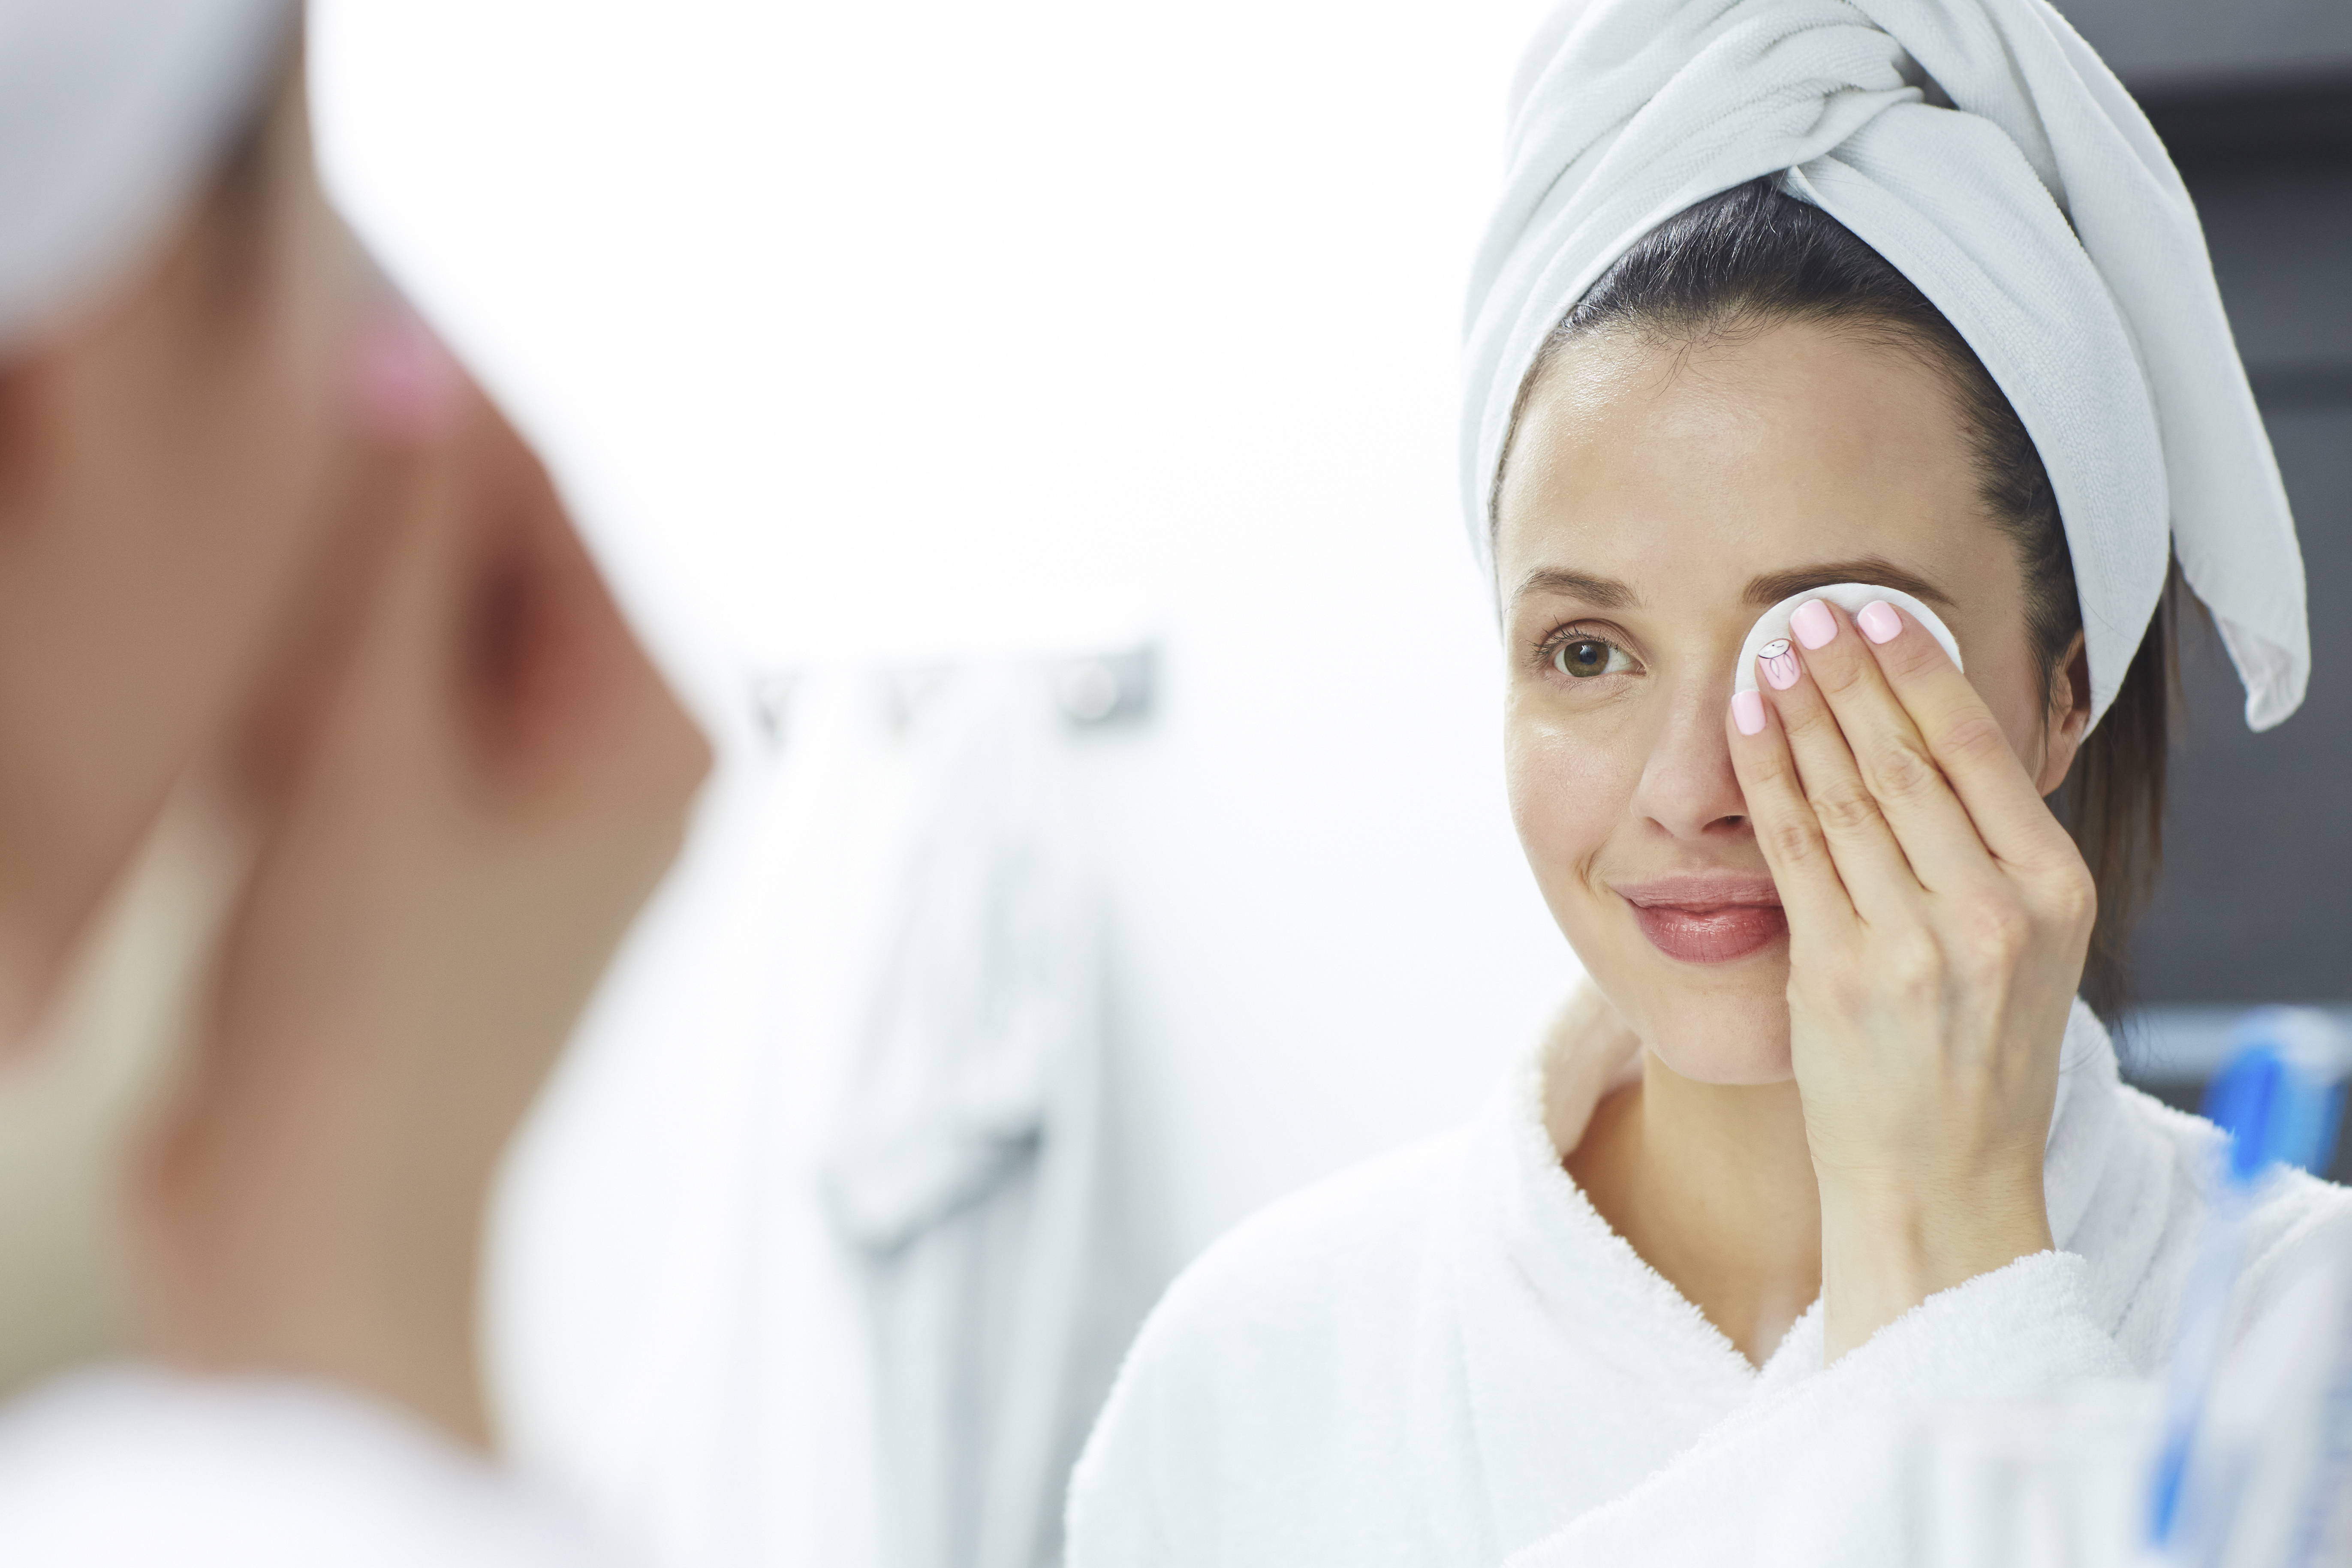
Though it’s always nice to have someone else take care of your skin in a spa setting, sometimes a little at-home self-care makes more sense. Not only is it often friendlier on your wallet, but it also allows you the freedom to do whatever you desire—watch Netflix, listen to a podcast or your favorite playlist, cook dinner—while your products work their magic. Plus, it’s a great time to think outside the box of your daily skincare routine, and incorporate products that you might not otherwise be using on the regular. Like anything though, there are a few ground rules to follow when indulging in a facial at home. One wrong move and you might accidentally do more damage than good. So, steer clear of the following four major DIY, at-home facial no-nos—you’ll be happy you did.
Mistake #1: Using professional-grade chemical peels
It may be tempting to seek out a professional-grade chemical peel to perform on your own but doing so is a recipe for disaster. Unless you’re a licensed professional, you probably haven’t a clue how to use these potent products.
“I have been shocked to see the potency of chemical peels readily available to the public online,” says Dr. Caren Campbell, a board-certified dermatologist in San Francisco, California. “When using these products you run the risk of long-lasting redness, pigment irregularities, [burning, itching], and even scarring,”
Dr. Marie Hayag, a board-certified dermatologist in New York City, agrees. She says, “A dermatologist is well-versed at knowing what type of acid is safe for the condition that someone presents with based on their skin type. The aftercare is also important when using a chemical peel and proper instruction is needed.”
Dr. Hayag says to avoid these professional-grade skincare products and to instead use peels and masks formulated specifically for at-home use—they’re usually more gentle, though can still help improve skin texture and skin tone. For an exfoliating face mask with a kick that’s home-approved, try Herbivore Botanicals Prism 20% AHA + 5% BHA Exfoliating Glow Facial Mask ($58) or Savor Beauty Pumpkin Enzyme Peel / Lactic Acid Resurfacing Treatment ($80). Both contain alpha hydroxy acids (AHA) to gently dissolve dead skin cells to combat dullness and reveal a brighter complexion underneath.
Related: 4 Things That Should Happen During Your Facial—and 4 That Shouldn’t
Mistake #2: Combining too many active ingredients
Pampering aside, part of the joy of getting a facial is the layering of products and treatments that work in tandem with each other. Professionals are acutely aware of which ingredients can work together, and which ingredients you should never combine. The general rule of thumb is to only use one active product during any facial, otherwise, you risk potential sensitivity, inflammation, and even burns or scarring. (And that’s even more likely to happen if you have dry skin or sensitive skin to begin with.)
Here’s a helpful step-by-step guide for a facial at home. Start by using a gentle cleanser and toner, mild formulas with non-active ingredients. (You can even double cleanse, if you really want this to feel like a professional facial.) Then, use an AHA—such as glycolic or lactic acid—or other chemical exfoliant as your primary treatment. (This category of ingredients delivers a good bang for your buck since they address multiple different skin concerns, offering brightening, anti-aging, and complexion-clearing benefits.) You can then follow up with non-active hydrators, and soothing serums, moisturizers, sheet masks, and oils. Again, keep these mild; seek out ingredients such as hyaluronic acid, aloe vera, and shea butter, all of which are unlikely to cause irritation. And don’t forget to give yourself a little facial massage as you apply your finishing product, an easy step that will make your experience feel all the more spa-like. (If you want to up the ante even further, you can use a gua sha tool or jade roller or try a DIY facial lymphatic drainage massage.)
For reference, here’s a quick list of active ingredients you shouldn’t combine at home:
• retinol and AHAs
• retinol and beta hydroxy acids (BHA)
• retinol and benzoyl peroxide
• retinol and vitamin C
• retinol and salicylic acid
• salicylic acid and BHAs
• salicylic acid and AHAs
• vitamin C and BHA
• vitamin C and AHAs
• vitamin C and niacinamide
Mistake #3: Attempting to do extractions yourself
Extractions are an art meant for in-office settings and professional facials performed by trained estheticians only. Going wild on your delicate facial skin can not only exacerbate the problem, but may lead to scarring and infection.
“Squeezing a pimple or picking at your skin can first and foremost lead to the spread of bacteria and, ultimately, more pimples. Acne extractions in a medical setting are referred to as acne surgery for a reason,” says Dr. Hayag. “While only superficial layers of the skin are open during acne surgery, that is enough to cause a localized infection. The skin needs to be properly cleaned and the area being treated should be disinfected prior to breaking the skin in any way.”
Your first line of defense against a blemish—whitehead, cystic bump, blackhead, or otherwise—is to ignore it. If the pimple is clearly near eruption, you can place a clean, warm wet washcloth over it. If you absolutely must “pop” a pimple, use an alcohol-sanitized extraction tool, clean your hands thoroughly beforehand, and clean the area after. To help bring pimples to a head, try a spot treatment like Starface Hydro-Stars Hydrocolloid Pimple Patches ($22). A clay mask—such as Kiehl’s Rare Earth Deep Pore Cleansing Mask ($20)—can also help remove impurities soak up excess oil and stop pimples in their tracks, and is an especially good option if you have oily skin, acne-prone skin, or just get a lot of breakouts.
Related: 8 At-Home Devices That Actually Make a Difference in Your Skin and Hair, According to Doctors
Mistake #4: Using microdermabrasion or microneedling kits
Both at-home and professional-level microdermabrasion and microneedling kits are accessible to the public, but most dermatologists agree that using such products at home isn’t wise. This is primarily because they require a high-sanitary environment—like the kind you’d get in a professional setting.
“Microneedling devices increase your risk of infection as you can inoculate your skin with bacteria, viral, or fungal organisms,” explains Dr. Campbell. This is because the device repeatedly creates micro-wounds in the skin with tiny needles. Unfortunately, these wounds can act as small channels for bacteria to enter the skin if your device isn’t cleaned correctly before use.
Microdermabrasion works differently—by vacuuming away the top layer of dead skin cells—and presents fewer complications compared to microneedling, but it can still put you at risk of redness, inflammation, abrasions, infection, and scarring, says Dr. Hayag.
“The at-home options are significantly less powerful, which can lead to a less-thorough exfoliation. Patients who have received professional microdermabrasion treatments prior to trying the at-home kits may look for equal results, causing them to over-do their treatment which can potentially lead to an increased chance of infection and scarring,” says Dr. Hayag. “Also, patients who have never received a microdermabrasion treatment from a medical professional are more apt to perform a treatment that is not suitable for their skin condition.”For a microneedling alternative, try Peace Out Wrinkles ($28), which are single-use microneedling patches ($28). For a gentle physical exfoliating scrub, try Wander Beauty BRB Multipolish ($36).


